Just Kitting Studio Items for Sale

Friday, September 30, 2011

Operation Write Home- World Cardmaking Day


Click on Beginning of Hop to reach the linkz tool to see the other cards in the hop.  

I am delighted to participate in the Operation Write Home  World Cardmaking  Day Blog Hop.  The mission of this organization is to support out troops armed forces by s ending blank handmade greeting cards to write home on, as well as cards of gratitude to encourage them.
I have participated with another group Cards for Soldiers that also does the same thing.  This is a great way to share the love with the men and women serving our country.  Plus it is a lot of fun to make different cards and a great way to keep your scrap pile from taking over your craft space.
One reason this is near and dear to my heart is I was a military wife for 7 years.  I know how much the men and women who serve in the Armed Forces and their families give up serving their country.  It is a big sacrifice and we need to be thankful for all they do.

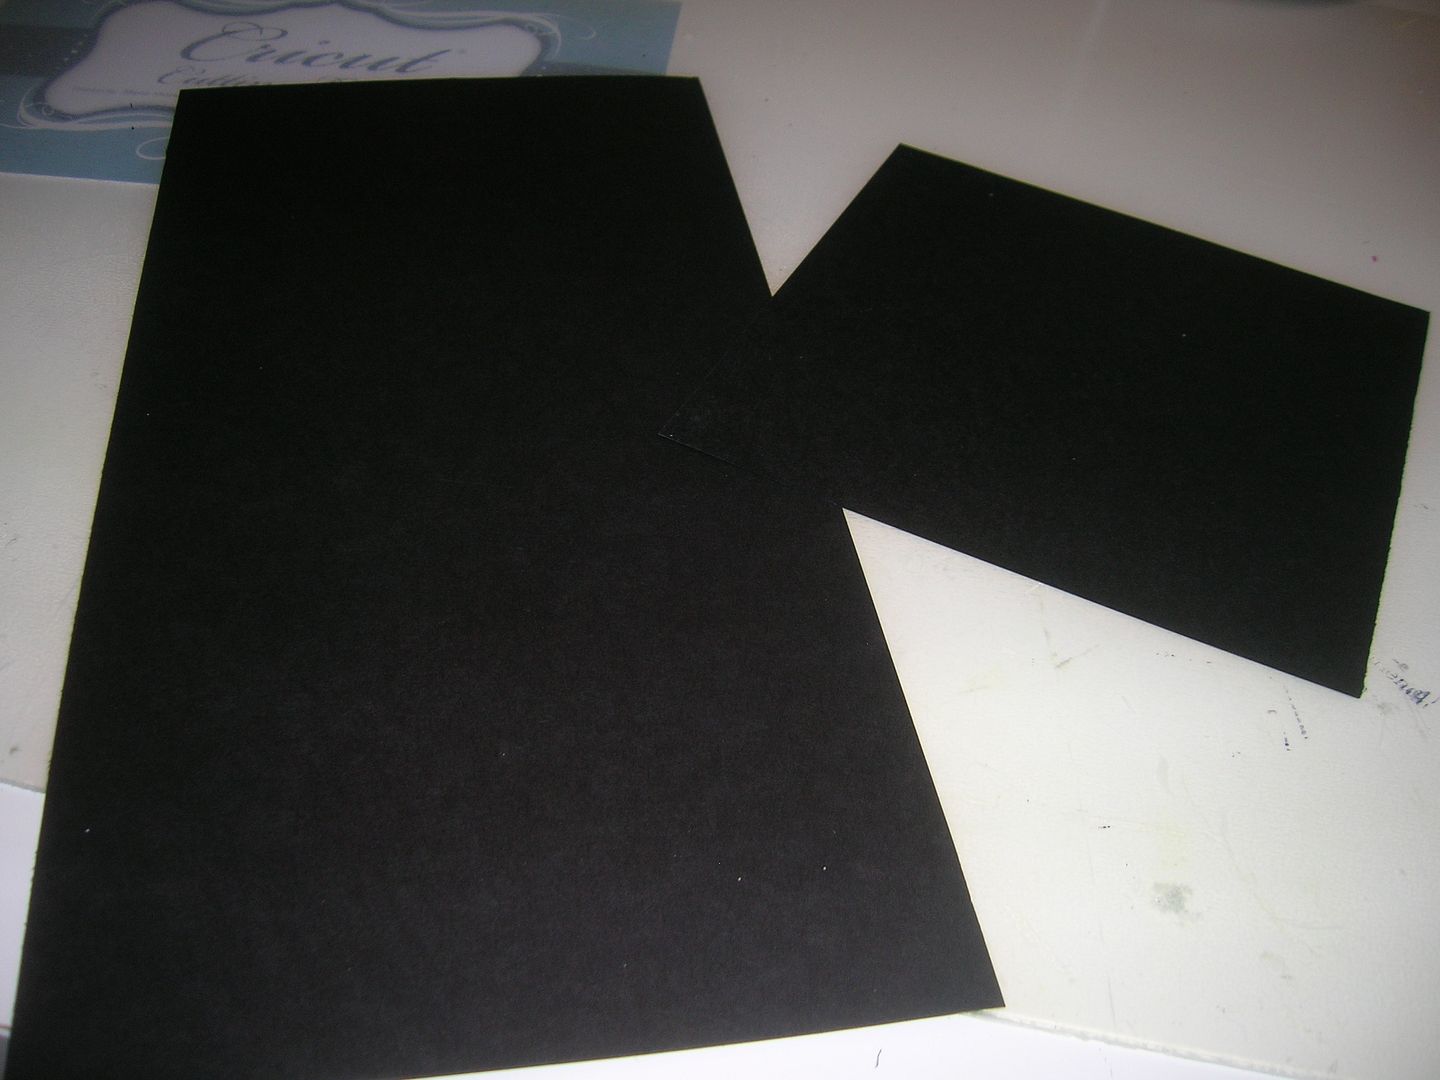
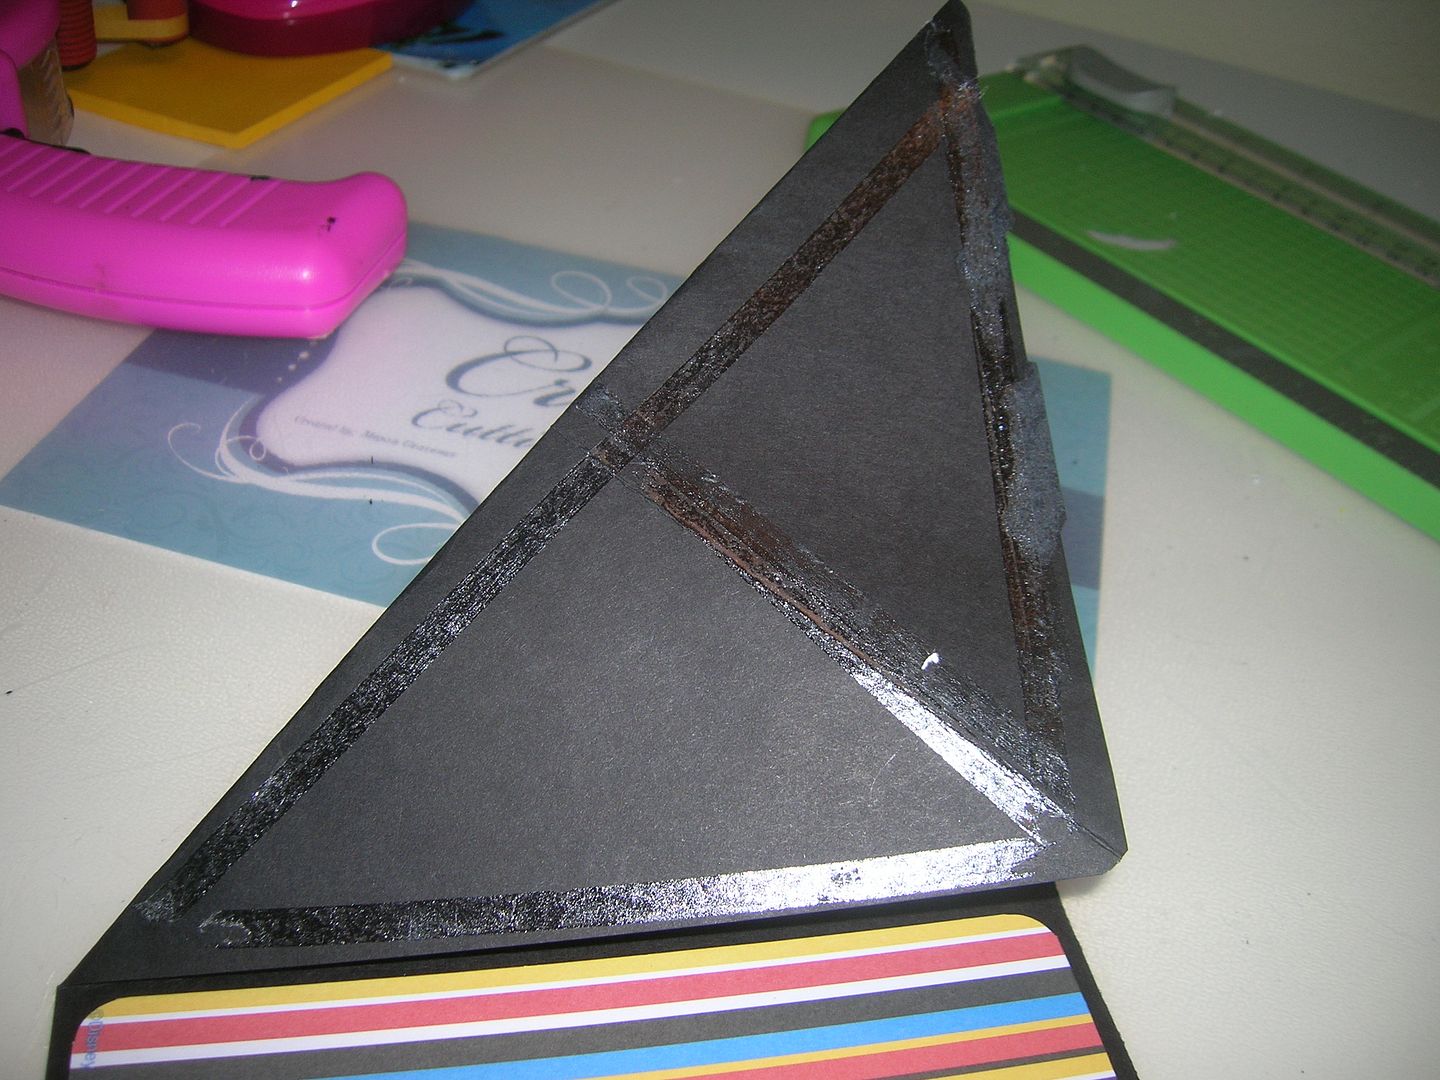
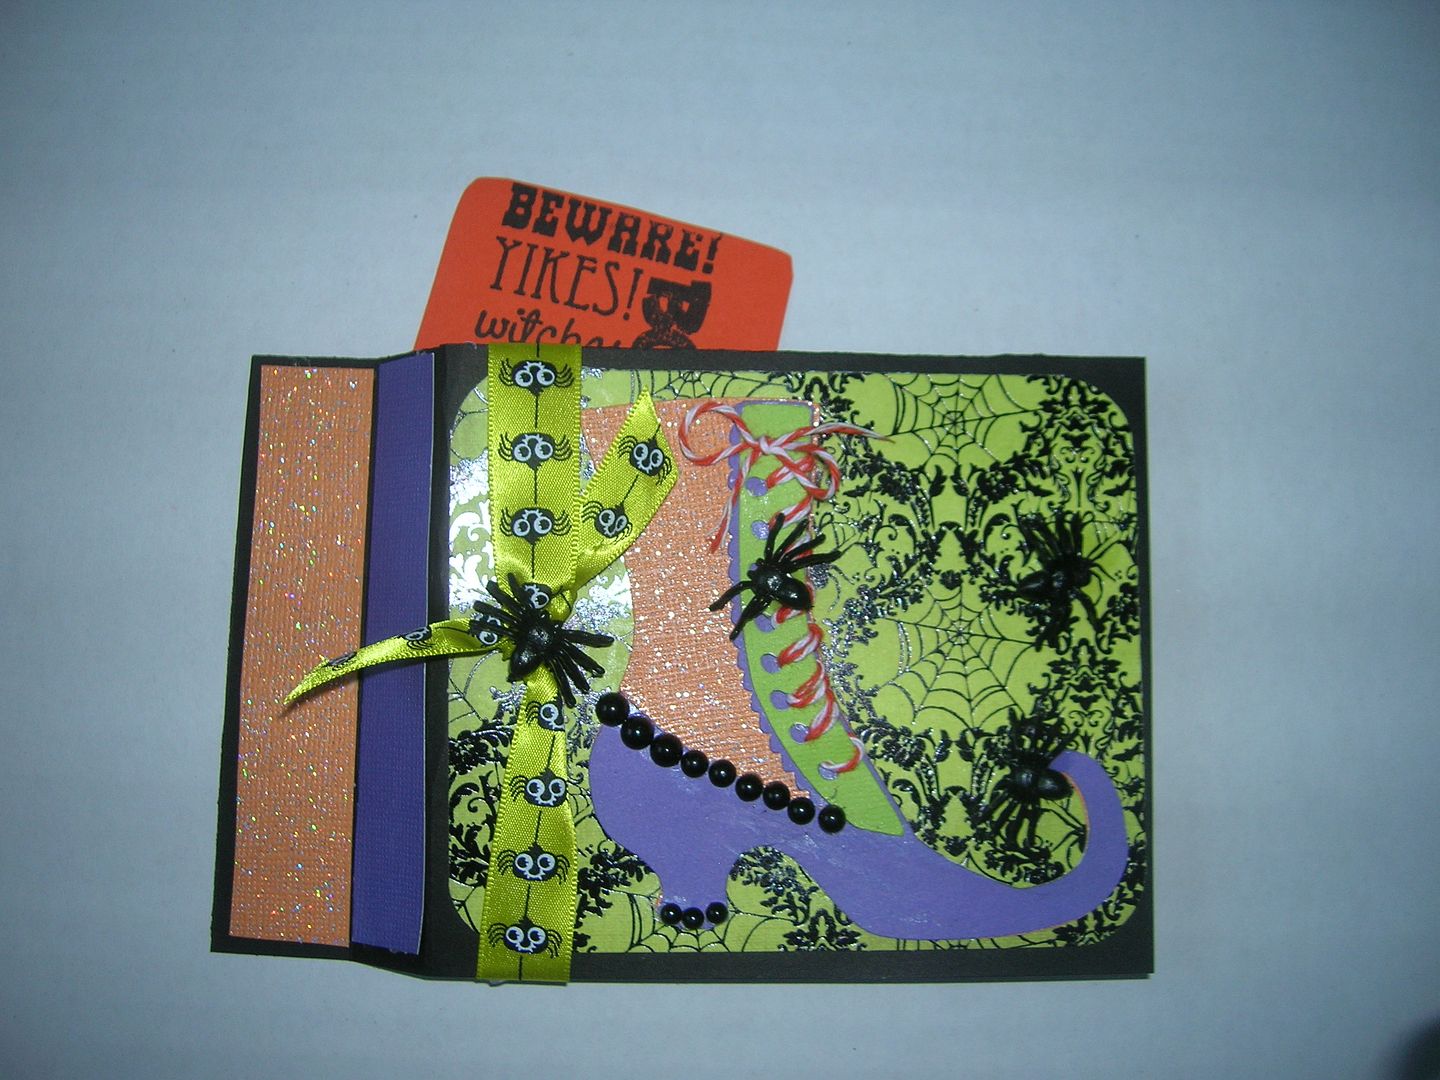
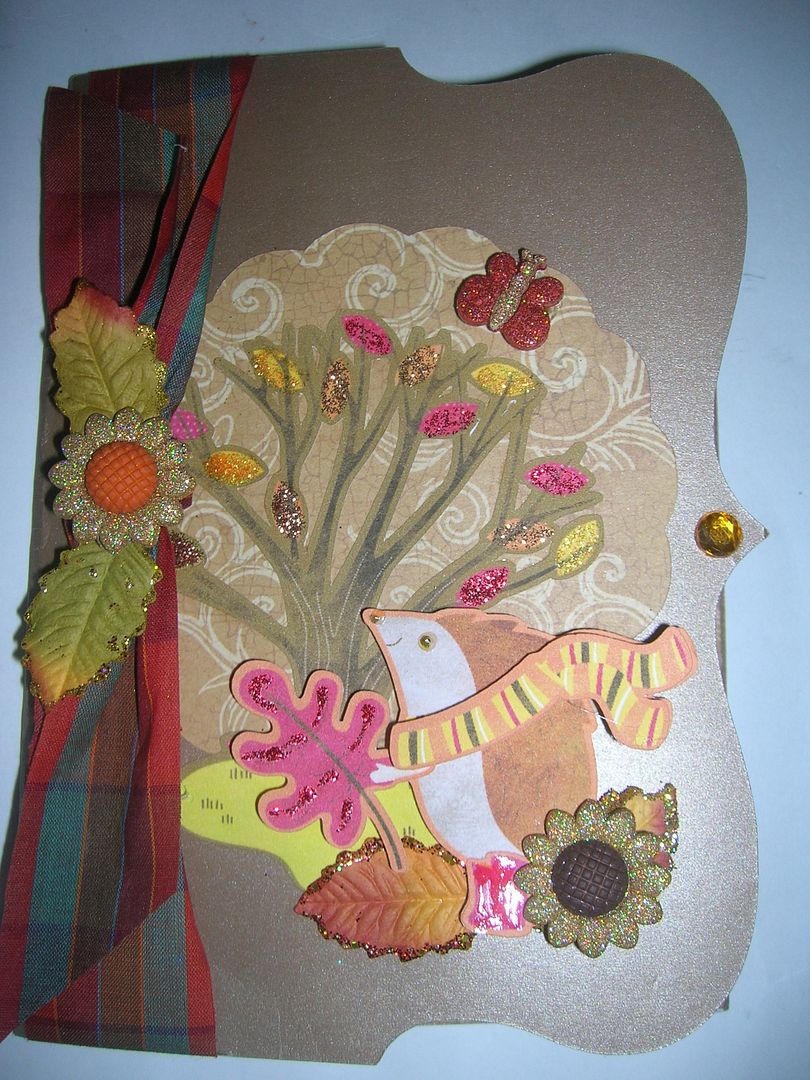
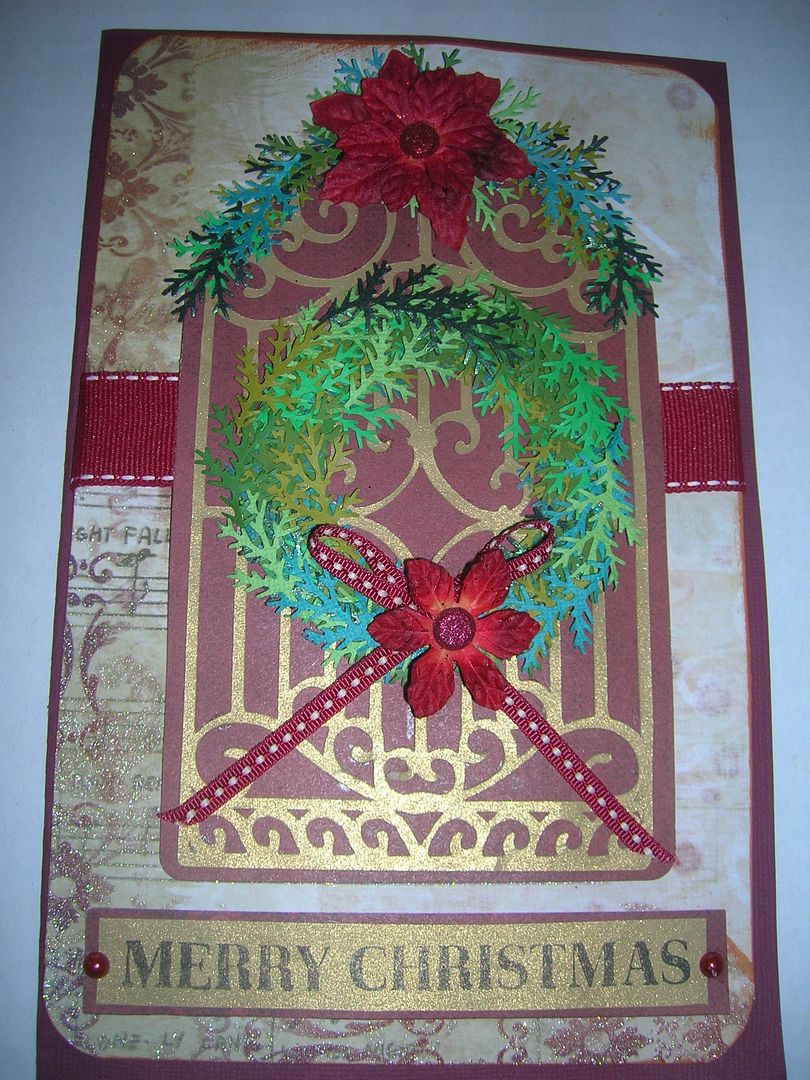
This is my card for today.  It is 5 x 7 card.  I cut the gate and gate shadow at 6 inches from the Cricut cart Ornamental Iron.  I then cut a 3 inch circle from George with a 1 1/2 inch circle  in the center.  To form the wreath and garland I punched 6 different green scraps with the Martha Stewart Branch Punch.   Using different colors makes it look more realistic and dimensional.  I then began gluing the branches around the circle to form the wreath and along the top of the gate to form the garland.  I added ribbon and 2 Pointsettia Primas.  I used a scrap of the same gold paper I used for the gate for my stamp background and added two tiny red glittered brads.  You can also add bling to the wreaths if you want.
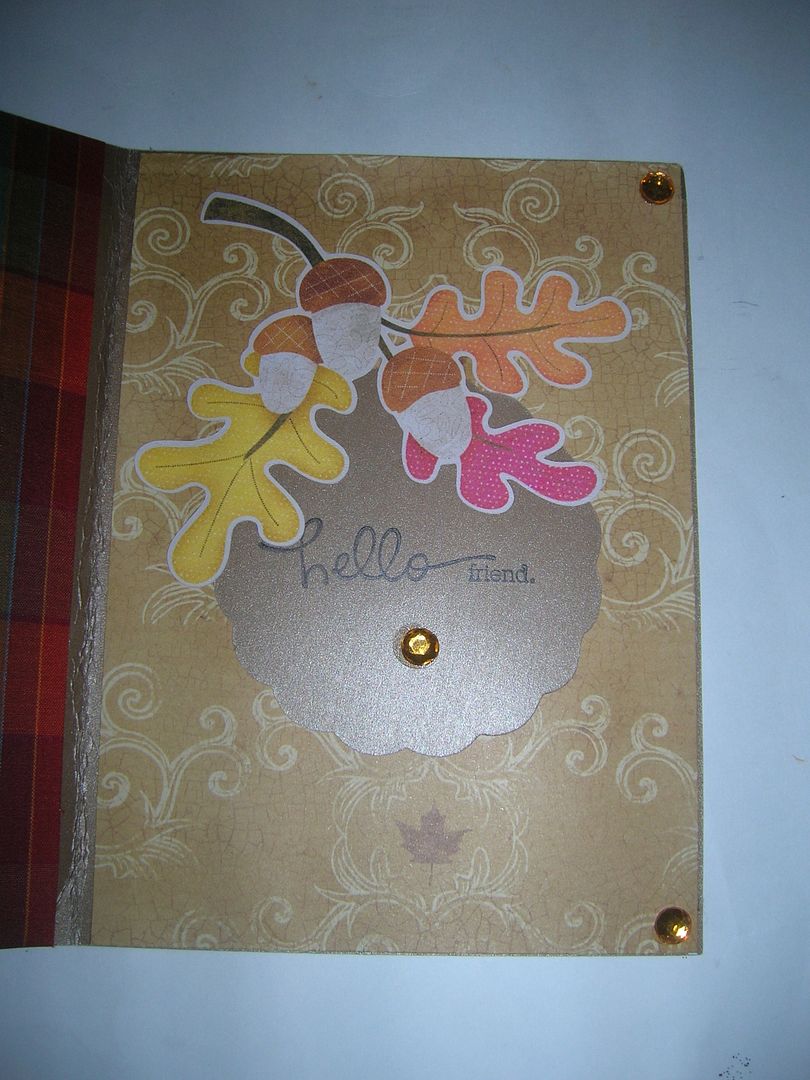
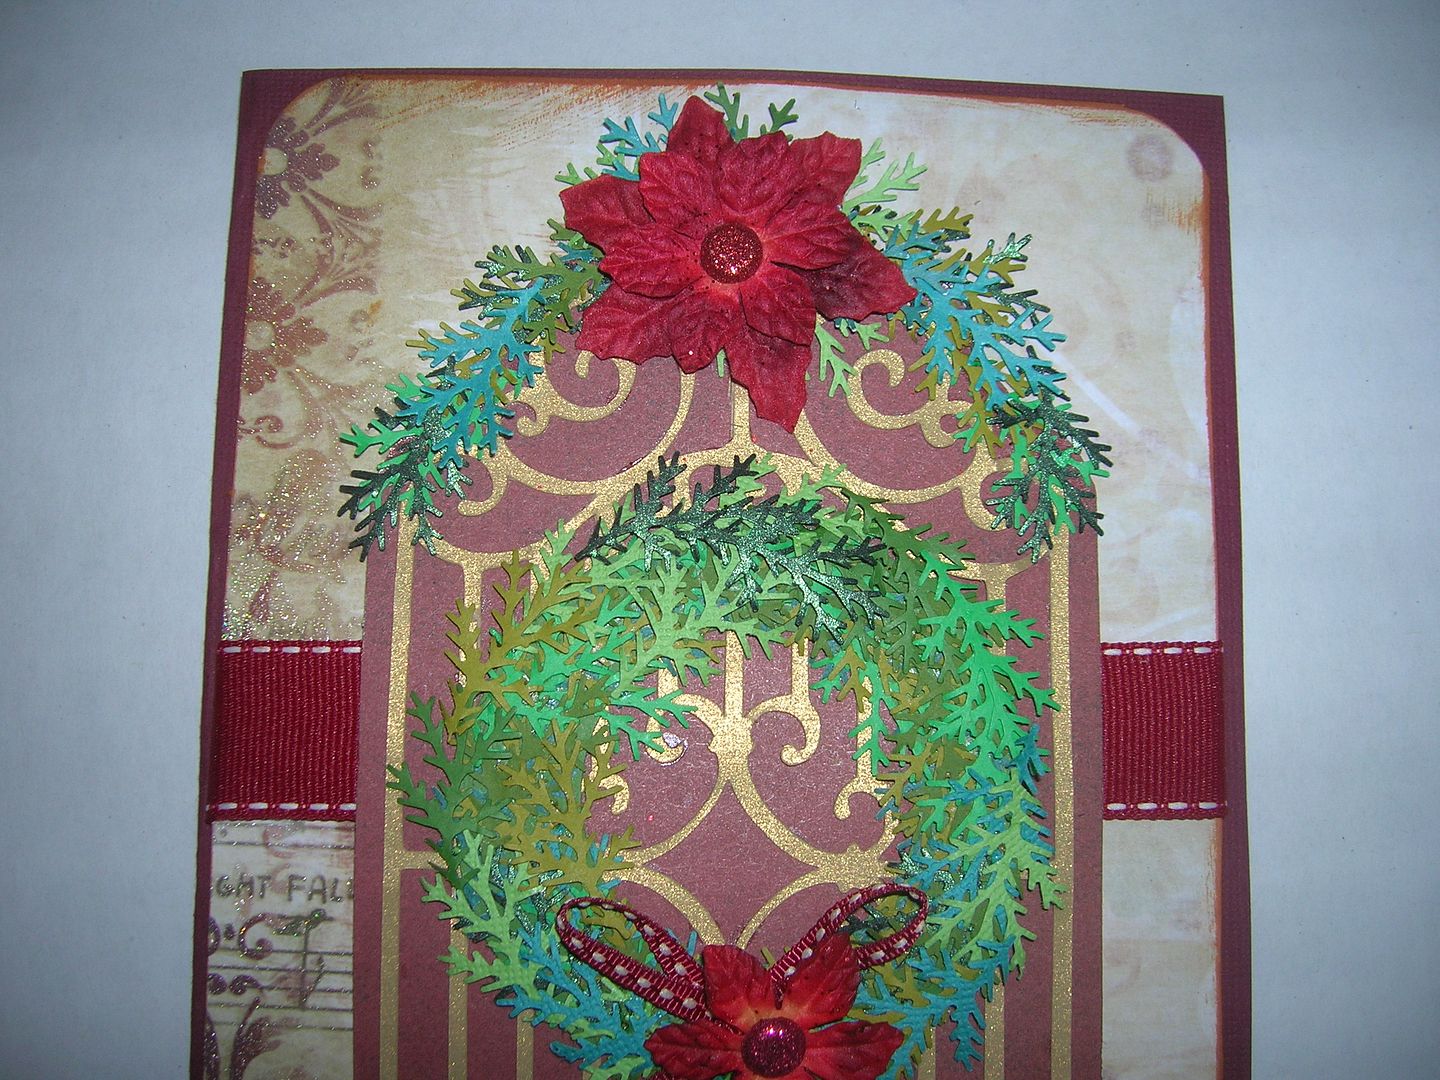
Detail pic of wreath and garland.  
I am also entering this in the Cricut Circle Blog Weekly World Cardmaking Day challenge and My Pink Stamper Christmas Card challenge. 
I hope you enjoyed my card.  Would love to have you come by again and check out my blog some more.  I am looking forward to seeing everyones great cards.
Happy Craftin

Mickey and Friends Blog Hop- Day 2


Welcome to the first but not last Disney/Pixar Blog Hop.  This hop is scheduled from Sept. 29 at 8:00 am through Sept. 30 at 11:00 pm.

If you have come from Jamie's blog, you are on the right track.  If not and you just happened to come to this blog, you can go back to the beginning HERE and hop along with us.

We're so excited to be doing this hop and we have a fabulous lineup with some very talented ladies.  There will be lots of fun projects, along with some great blog candy, and a great grand prize for this hop.

The hop is a 2 day hop so you will have plenty of time to make it through the whole hop lineup twice.  Check out each blog and see what blog candy you can win at the individual stops.  Please come back both days to see great projects.


There is going to be an overall grand prize sponsored by Lisa from Scrapping with Lisa and she will be the first and last stop in the lineup.  In order to qualify for the grand prize, you must leave a comment on every stop in the hop, including my facebook page. You also must become a follower of my blog and of Scrapping With Lisa on facebook.  The grand prize for the blog hop is a nice grab bag full of goodies.  You won't be disappointed in this prize.


For my blog candy you must be a follower (because I love followers) and you must leave a comment (because I love comments.)  So comment both days and you have two chances to win.  The winner by Random.org will receive a gift card for $10 of their choice from either Michaels or Joanns.  

Wow so many great projects yesterday.  I was totally inspired to use more of my Disney/Pixar carts.  
So on with todays project:
This card was made using the Disney Classics cartridge.  I thought Bambi would look really cute with the flowered paper from K and Company.  I love Disney carts but you definitely need to make sure you cut them big enough due to all the layers and tiny pieces.  Bambi was cut at 4 inches.  I added Stickles, ribbon  and Glossy Accents.  

Here are some other Disney cards you might like to see
This is a twisted easel card I did this week for the Sweet Sassy Diva Design Team.


Your next stop is Jearise http://lorbysworld.blogspot.com/

Have a great day!  I hope you enjoyed the hop.  
Happy Craftin 

Thursday, September 29, 2011

Mickey and Friends Blog Hop- Day 1


Welcome to the first but not last Disney/Pixar Blog Hop.  This hop is scheduled from Sept. 29 at 8:00 am through Sept. 30 at 11:00 pm.

If you have come from Jamie's blog, you are on the right track.  If not and you just happened to come to this blog, you can go back to the beginning HERE and hop along with us.

We're so excited to be doing this hop and we have a fabulous lineup with some very talented ladies.  There will be lots of fun projects, along with some great blog candy, and a great grand prize for this hop.

The hop is a 2 day hop so you will have plenty of time to make it through the whole hop lineup twice.  Check out each blog and see what blog candy you can win at the individual stops.  Please come back both days to see great projects.


There is going to be an overall grand prize sponsored by Lisa from Scrapping with Lisa and she will be the first and last stop in the lineup.  In order to qualify for the grand prize, you must leave a comment on every stop in the hop, including my facebook page. You also must become a follower of my blog and of Scrapping With Lisa on facebook.  The grand prize for the blog hop is a nice grab bag full of goodies.  You won't be disappointed in this prize.


For my blog candy you must be a follower (because I love followers) and you must leave a comment (because I love comments.)  So comment both days and you have two chances to win.  The winner by Random.org will receive a gift card for $10 of their choice from either Michaels or Joanns.  


This is my project for Day One.  I did a double page layout of my youngest granddaughter. I used the Disney Pooh Font which has these adorable honey pot letters that I used to spell out her name.  The cute little baby Pooh characters are also from the font cart.  The green grass and the bees came from the Pooh and Friends cart and have Stickles on them.  I also used little black beads for eyes and Glossy Accents on noses, water, and Pooh's red shirt.   I cut out some green paper for the ground and added gem flowers.  All the cut edges are chalked.


Here are closeups so you can see some of the details.  

Your next stop is Jearise http://lorbysworld.blogspot.com/
I am also entering this in the My Creative Time to use an image from a font cart.  I used the Pooh font.

Also if you get a chance stop by the Fantabulous Cricut Card Challenge today to see the Thursday Tutorial I wrote for how to use Alcohol Inks for Fall Projects.  This week the challenge at FCCB is Falling Leaves. Please join us!

Have a great day and I look forward to seeing you again tomorrow.
Happy Craftin 

Wednesday, September 28, 2011

My card for the Die Cuttin Divas Shabby chic card challenge

Took a break from all the Halloween challenges and did this card for Die Cuttin Divas.  Their challenge this week was to do either a Shabby Chic or Vintage Card.  I love doing both but decided to use my new DCWV French Country Paper from Michaels.  I used a MS Punch to decorate the edges, added a little shabby chic flower, a little tag that is stamped with Happy Birthday, pearls, lace  and a gold heart button.  

Big thanks to Lasting Memories and 3 Halloween cards for challenges

Before I show my new cards for today I want to thank  Lasting Memories for showcasing my layout from the I did with Fancy Frames of two of my granddaughters.  Here is the link to the  Layout   
The following three cards are all Halloween cards made for blog challenges.  All three cards were done  with DCWV Halloween paper and the Mini Monsters cart.  Ribbon is from Michaels and googly eyes.  Hard to see but there is a little spider on the witches hand.  I am entering this card in the following challenges.  
Frosted Designs- sketch challenge
Scrappy Mom Stamps- Mini Monsters
Inside 
This card is 5 inch square and is for the Cardz TV- owl challenge.  I used Hoot and Holler for the owl and branch which I got at Walmart for $15.  The frame and background was cut from Elegant Edges.   I added black and orange twine, orange doodles, Stickles and googly eyes.  The black background paper is different kinds of Halloween candy which goes with the sentiment on the inside-
Inside- Hoos got the candy?  Since I cut the frame to small the first time I used these pieces for my inside.  
Shes a Sassy Lady- challenge to make an accordian card.  Sheila did a great tutorial on the accordian card that Cricut Couple had done.  This is my card.  The spider is free hanging from Wonder Thread.  The funny googly eyes I got at Michaels.  Stamp $1 section from Michaels last year.  Definitely going to try this again as I am sure I can get the folding better.  Practice makes perfect.  Spider is cut from Mini Monsters.  

Tuesday, September 27, 2011

Twisted Easel Mickey Card

Hello everyone and welcome to the Sweet Sassy Diva Blogspot.  This week the design team was asked to do a project with Disney/Pixar.  There are so many carts to choose from.  For this project I decided to do a twisted easel card and use Mickey and Friends and Mickey Font to decorate it.  
Believe me once you try making a twisted easel card you will be hooked.  
The papers are from a Disney stack I got at Joanns.  
So here are the directions:
1.  Cut 2 pieces of cardstock- one 6x6 and 1 6x 12.  
2.  Fold the 6 x 12 in 1/2  

3.   Fold the left side of large piece across to form a triangle.  (I goofed and folded the wrong way but that is fixable as it will be covered with the other piece).  I use my ATG gun to adhere the  6 x 6 piece to the triangle.  Mke sure to line up at bottom so card will close.  Test now before you can't remove it.  I guess I forgot pic of this step but see picture 8.    
4.  Here is my mat with cuts from Mickey and Friends page 108 cut at 5 inches.  I did not cut the shadow.  
5.  Here is my mat with Oh Boy cut with shadow at 1 inch from Mickey Font.  This was an already designed phrase so I did not have to make words.   
6.  I glued my pieces together and added Glossy Accents to eyes and nose.  To the words I did dots and dashed with a Sharpie.  
7.  Next I stamped my birthday sentiment and placed it on a 3 1/2 inch cardstock piece.  
Then you use pop dots so this piece will hold the easel portion up.  
8.  Place the sentiment piece on the bottom of card back so it holds easel in place. 
Add other cuts - Doesn't Mickey look so happy.  
This is card closed 
I added two Mickey buttons I had in my stash.  
 
Sorry this pic is so blurry.  
So now you know how to make a twisted easel card.  This is the link to where I got my directions and you will also find directions for double and triple twisted easel cards here.  
I can't wait to see what the rest of the Design Team has made this week.  How about you?  Make sure to come back each day to check it out and you are always welcome to stop by 
also please come back September 29th and 30th for the

Three layouts for challenges

These first two layouts (one for me one for daughter) are done with the same picture of my oldest and youngest granddaughters.  They are 17 months apart.  I love the expression on the oldest face with her hands on her head.  
The first layout is for the Lasting Memories challenge - frames and flowers.  The frame is the first one I cut from the Fancy Frames cart.  I added flowers and pearls to deck it out.  Paper is a new DCWV stack I got at M's called French Country I think.  
This layout is for the Stuck on You Sketches challenge- use hearts.  I finally did this cut from Paper Lace which I had been wanting to do.  Then I punched out top and bottom border with a wide MS heart punch.  I then took punched out hearts and added them to Paper Lace hearts and then added pearls.   
This layout is for the Blog Quick Quotes- sketch challenge.  I used my Blog quick quotes paper, title and quotes.  I  added some felt and paper flowers from my stash. All the pieces are inked with Tim Holtz ink.  Love the colors and the bird cages.  

Witch shoe Interactive wiper card

This Halloween card is for the Cricut Circle Weekly challenge- an interactive card called a wiper card.  When you pull on the side pieces the wiper comes up with the sentiment on it. (see second picture)  I used DCWV Halloween paper, ribbon from Michael's, twine, and plastic spiders.  The shoe is from Happy Hauntings cut at 4 inches. 
 I am also entering this card in My Craft Spot ribbon challenge and the Celebrate the Occasion ribbon challenge.  

Monday, September 26, 2011

Birthday Sundaes card with buttons

This is a card I did using my Imagine for the Birthday Sundaes birthday card challenge this week -Who's Got the Button.  I used the Imagine Yummy cartridge cutting the pieces in layers, a MS cupcake punch, a stamp and some ribbon.  Added the buttons for the cherries on top of the pop dotted cupcakes   and added Stickles to the icing. 

FCCB Challenge Leaves are Falling

So happy its time for another Monday challenge here at FCCB.  I love seeing what the designers and the challenge participants do each week.  So much inspiration from all of you.  This challenge is called Leaves Are Falling.  I thought this would be a fun card to try out on my Imagine with my new Enjoy the Seasons cartridge.  I am still new with my Imagine but so far I am liking it.  

The card base is from Damask Decor cut at 7 inches.  I took the score lines out with my Gypsy as I do not like the white spots if I don't need them. I then cut a scalloped circle with Fall paper I had for background. 
The tree was cut at 4 inches, the leaves at 4 inches and the hedgehog at 2 inches.  All were printed and cut flat except for the Hedgehog. For him I chose to layer.   I added some glittered leaves, ribbon, buttons, bling and Stickles 
On the inside I used another piece of Fall paper, cut out leaves and acorns 4 inches and added bling and stamp.  Hope you enjoyed this project and that you will be inspired to join us for the challenge this week.  I love Fall colors so will enjoy seeing your different projects.  Keep on Craftin.

Sunday, September 25, 2011

Baby Layouts for Frosted Designs Challenges

Was very excited  I was awarded Top 3 at Lasting Memories this week.  Love these layout challenges as they help me keep my photo pile down.  So here are some more pages I did this weekend for challenges. 
This is a layout I did for Frosted Designs Ransom note or Mixed Font challenge.  I used Wall Decor for the mushrooms in the left corner.  For the Sweet Baby- I used Ashlyn, Blackletter, Cursive 101, Lyrical Letters, Holiday Cakes, Makin the Grade, Print 101, Cuttin Up and Stone Script.  Paper is DCWV Baby Girl Stack.  
This layout is for Frosted Designs sketch challenge.  I had some cute sweet pea paper I had in my stash.  I cut out the cute little baby pea from New Arrival and then added a bunch of buttons.  

Halloween layout for DCWV September Stackoholic Challenge

I was in the Halloween mood today so decided to do a Halloween Layout for the DCWV September Stackoholic Challenge.  I used the sketch (see below) and the Halloween stacks from DCWV I got at Joann's.  The diecuts are from Pumpkin Carvings.  The web from a MS punch.  The title trick or treat from Pumpkin Carvings.  I inked the edges with black ink and added Stickles to spider and some googly eyes. The ribbon has shiny webs on it and is from Michaels.   
Closeup of squares
Closeup of title and spider
Sketch

Saturday, September 24, 2011

Doodlecharms bear birthday card made with scraps

The Mag Challenge this week is to use page 105 of Doodlecharms.  When I saw the little bear I remembered the Happy Bearthday Cuttlebug Embossing folder I had so I used that with the bear.  I used all scraps for this project.  Even the background of the card is two pieces so I added ribbon across the card to hide the seam line.  I am also entering this in the Love to Crop Scraps Challenge this week.  

Friday, September 23, 2011

Copper Fall Leave Card

For this card I used the Cuttlebug embossing folder Brocade Window with cordinations paper.  I then sanded it down to show the design more.  Give Thanks was cut from  the Thanksgiving Cart.  The leaf branches were cut from the Martha Stewart Seasonal Cake Art Cartridge.  The center leaf was cut and embossed with a Cuttlebug leaf folder.  It didn't quite cut through the thin copper  I used so I had to finish hand cutting it.  I then added three  leaf brads and ribbon.  I am entering these in the 
 Cooking with Cricut Challenge- Colors of Autumn and 
More Than Favors  Fall Theme 
Whimsical Wednesday Fall with homemade embellishment

Thursday, September 22, 2011

Look at what Rhonda from Scrap Happens made me!!!!!!

I am so excited.  I had surgery on my toe today to remove a cyst that had grown into the bone.  Pretty groggy.  Went to look on blogger and found this wonderful post.  I won a prize for commenting on Rhonda's wonderful work at Scrap Happens last week for the It's Fall Blog Hop.  The prize was for Rhonda to make one of her wonderful mini books for me.   I told her I would like something to use for my 3 granddaughters as they are the highlight of my life right now.  So look what she made me. I absolutely love it!!!!!!!!!!
Suzanne is the winner of a mini book from the its all about fall blog hop. she has three small granddaughters so its all about pink! I made this going to grandmas suitcase to put there pictures in. This is the front of the suitcase.

here is the inside opens like a suitcase each pocket has a coat and rabbit stuffed animal and plenty of room for pictures
Isn't this adorable.  Please check out Rhonda's blog  to see her other amazing mini books.  Thanks so much Rhonda you are amazing.